
Material Whirl: Building Overlays with The Sensel Morph
With the Overlay Designer, Innovator’s Overlay, and even the Morph API, there’s a lot of opportunity to create completely custom controllers for your exact needs. The quick and easy version is to make an overlay in our Overlay Designer, export the image, maybe add some color and labels, print to paper, and use it under the Innovator's Overlay
However, creating a surface with texture and style can be a bit challenging.
A common question we get is, “How can I 3D print an overlay?” The end goal of course is to get a custom overlay with tactility similar to our own line of overlays. In theory, this is possible - you can even export a 3D model from the SenselApp and send it to a 3D printer. However, the biggest barrier is out of our control: choosing materials and filaments. Most 3D printers use hard plastics that do not transmit a useful force image to the Morph. Some 3D printers and services can print with soft materials, but these often result in unattractive and extremely expensive overlays.
So what’s a designer to do?
A Stout Mask or a Replica?
One option is to 3D print or cut a “mask.” This method makes use of inexpensive materials, and possibly even inexpensive tools. The example below uses low-cost cast acrylic and a laser cutter, so at least the material is inexpensive!
This simple slider arrangement has an acrylic overlay that creates some relief for tactile assurance that your finger is in the right place. It is a good, easy way to create control areas for an installation, for example, or very distinct boundaries for XY controls.
You can see I also added magnets to keep the overlay in place. I measured the placement of the magnets on the Innovator’s overlay, and added them to the cut design (here’s a template you can use, in Illustrator, PNG, and SVG formats).
I then taped them in place to make them flush with the bottom and filled the hole with silicone adhesive. Epoxy would probably be a better adhesive, but silicone is better for a first stab at a prototype - it’s easier to clean off if I mess up. Hot glue and E6000 adhesive could also be a good choice for experimenting without heavy commitment.
I also tried a mechanical solution, by adhering acrylic tabs to the edge. This is another worthy strategy for installation, since it really prevents the overlay from sliding off from extreme public use. However, the tolerances required for this to work nicely are pretty exact. As you can see in the picture, my fit is not perfect, and my tabs are a little crooked. I should have allowed for the waste from cutting (“kerf”), and overprinted the frame just a few hairs larger to give me the margin for better fitting tabs. Lesson learned!

In conclusion, acrylic is not the greatest material to play with for this “mask” idea. The edges are hard and unforgiving - it would take some polishing to make them feel nice. If I were to try again, I’d be inclined to work with a thinner acrylic - this is ⅛” (3 mm) thick, which is really too thick for comfort. However, as a prototype or quick fix, it’s amazing.
Of course, this could also be done with foam core, pasteboard, or cardboard for less durable, but easier solutions. Balsa wood is also a nice prototyping material that will last longer than a paper based frame, is still easy to cut with an inexpensive blade, and would easily sand down to a nice contour.
Dress You Up
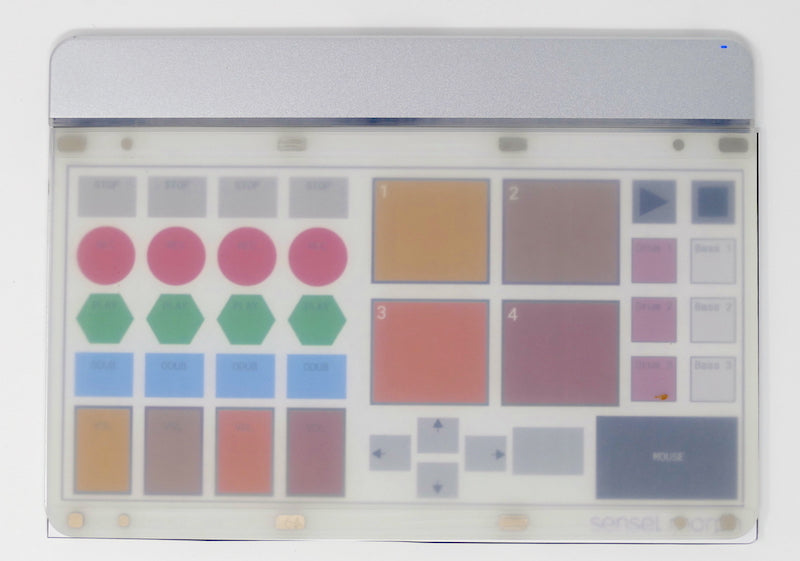
Another option that I’ve really been interested in is using fabrics. These can provide a unique tactility and can be easily printed with labels.
I used a service called Ponoko which provides laser-cutting services with a variety of materials. The basic idea is that you create a 2D file in a program such as Adobe Illustrator (or try a free alternative like Inkscape, Boxy SVG, or SVG Edit), then select your material, and Ponoko will send you your cut-and-engraved material in the mail.
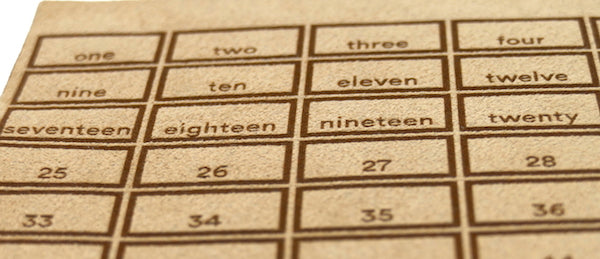
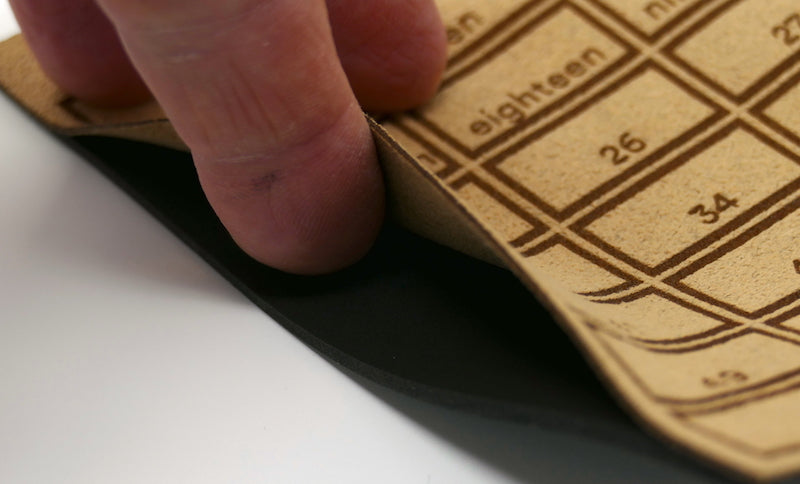
Engraving gives you crisp, easy to read labels. You can even add textures with engraving, which can help you zero in on a control without looking at the pad.
In this example, I used a faux-suede material - it was pretty inexpensive, and seemed to be a good test of something unexpected. The results were really stunning, and gave a unique feel to my controller. For a second round, I think I’d try leather, and do a patchwork of colors to create a really cool controller.
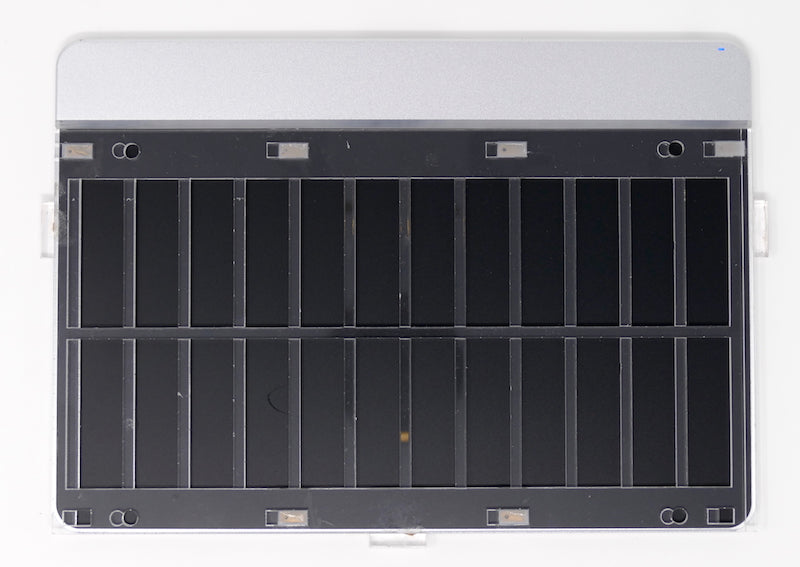
I used some silicone adhesive to attach the suede to a thin foam called Poron - just a dot in each corner was enough. This urethane foam was used in the very first overlay prototypes. I found some scraps lying around the office, so I put them to use.
Easy to cut and glue, it was a nice choice to give this a finished feel. Poron may not be an easy or cheap material to find, so I’d recommend some cheap neoprene. Get something with 40A or 50A durometer, which is a measure of hardness that is similar to our existing silicone overlays.
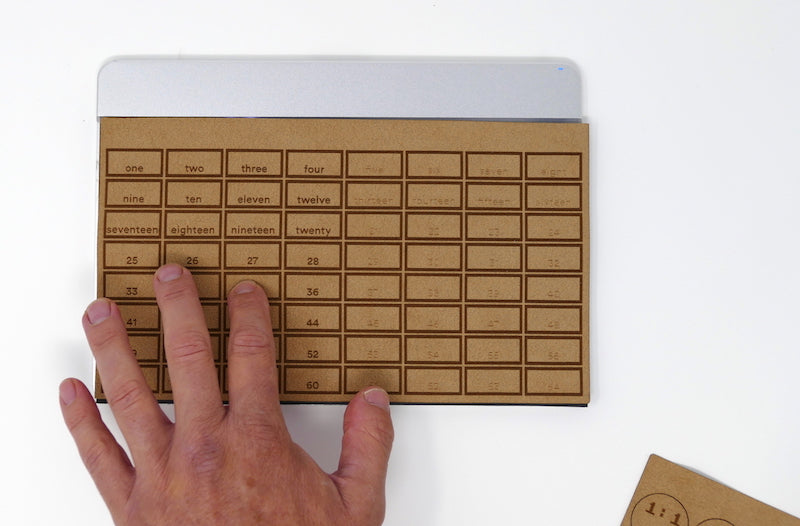
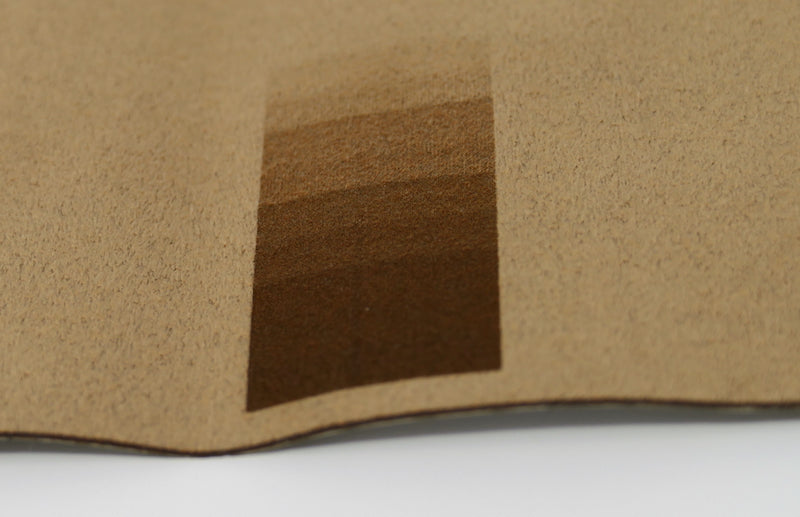
I also did some tests on gray levels, just to see how they would affect texture and legibility. As you can see, values less than 60% black were pretty worthless on this material. However, the bands of gray provide textures that could be applied in different ways. For example, lightly etching a slider for a distortion effect makes it clear from touch that the slider would roughen the sound.
It is also worth noting that Ponoko had great service. There were some mistakes that were a result of my file preparation, and my first cuts from them didn’t turn out. They immediately figured out the problem, made new ones, and let me know how it could be avoided in the future (make sure all your visible Illustrator layers are unlocked!). It was really great to get excellent and attentive customer service.
Print it!
Another great option is neoprene. Spongy and easy to print on, there are several services that will custom print neoprene, such as Printer Studio and Contrado. You can also use bare neoprene in combination with a material like the faux suede I used from Ponoko.
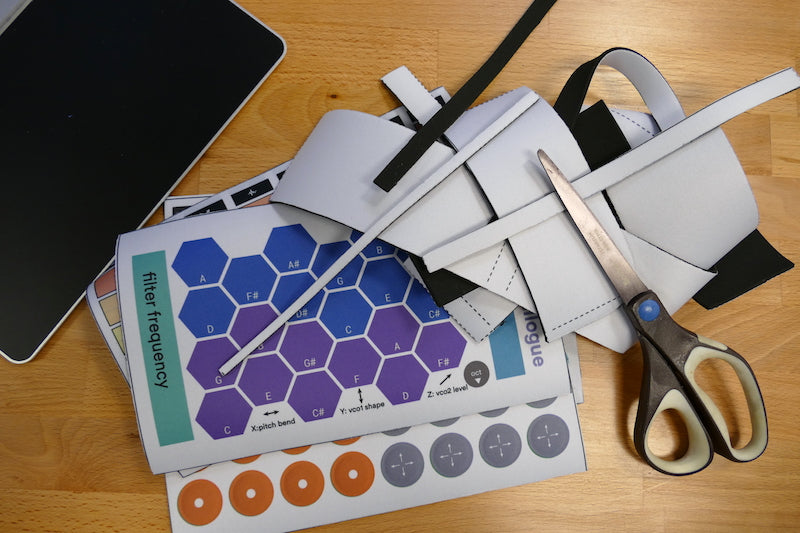
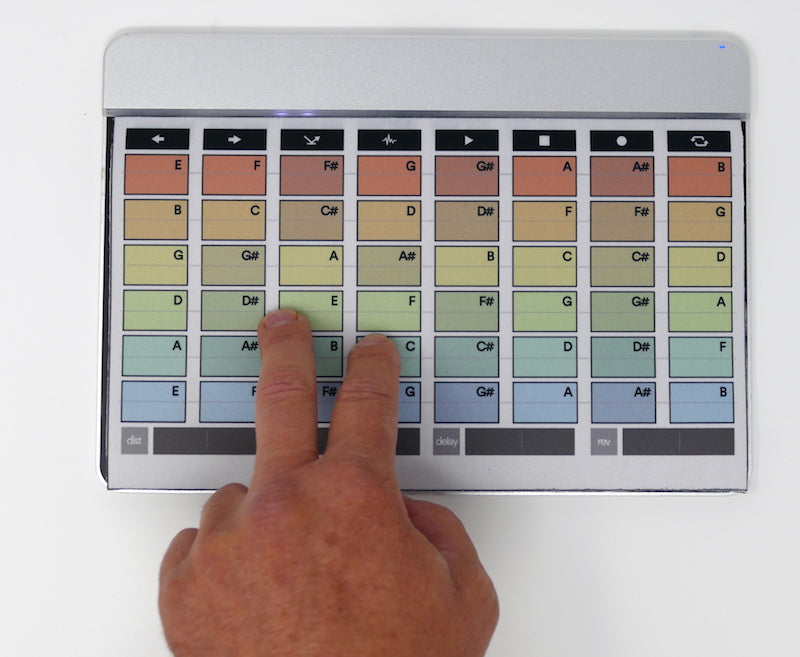
I did a test using the 14”x24” game mat option from Printer Studio, which cost me less than $30. There’s room to print four overlays on this, so I cooked up four different designs to test.
Forum user "NothanUmber" built his Continuano overlay using the Contrado service, since it allowed him to print a very long scroll. I was lucky enough to try this at SuperBooth when I met him, and it felt great, and looked quite durable. Combining his own interface with MIDI Polyphonic Expression (MPE), he built an expressive custom instrument that felt wonderful. The nice thing about the Contrado service is that the neoprene is printed and cut to size, which, while more expensive, gives a cleaner finish than the Printer Studio option.
Make it Work, then Make it Stick
Since I’m not using the Innovator’s Overlay explicitly for this, how does the Morph know to use the Innovator’s Layout? There’s one Overlay you probably didn’t know about: the No Overlay Overlay! In the SenselApp, you can set up the Morph to think it has the Innovator’s overlay on it when it is empty. Just follow this gif:
Select No Overlay, then Select “innovator’s” in the menu, and Send Map to Morph. That’s it!
If you want your finished product to act just like the Innovator’s overlay, you’ll need magnets. For the locations, I already linked to a template above so you can make the cuts you need. This is especially useful for laser cutting or CNC work.
Our overlays use 10 x 5 mm magnets for holding the overlay in place, with a couple 5 x 5 mm in the bottom corners, and 4mm circular magnets for identifying the overlay.
With the printed neoprene overlays, I took a different approach. I just placed magnets on the Morph to get their location, then made a paper template so I could easily mark the neoprene.
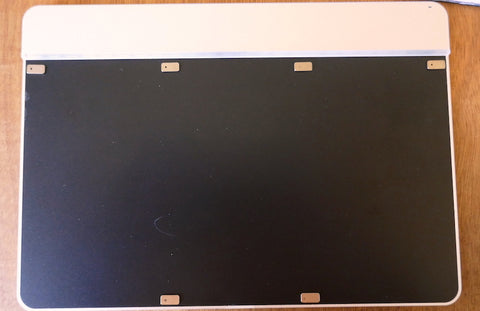
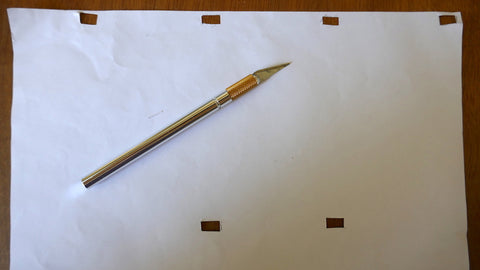
I then made cuts with an artist knife (X-Acto) to the neoprene, avoiding a complete cut through to the printed fabric. I sort of dug out the neoprene, and had nice slots for the securing magnets, and used E6000 adhesive to secure the magnets into the neoprene.
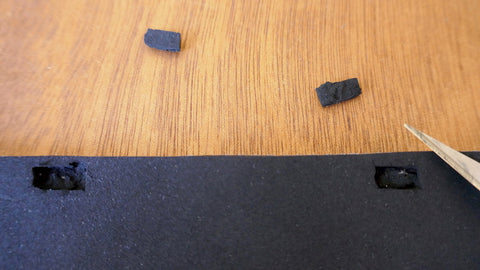
Because I cut a little too close, I didn’t get the corner magnets in, just the central ones. Even so, it still secures nicely for desktop use, and I just use the No Overlay setting to make everything work.
Conclusion
After testing all these methods, I’m probably happiest with the Neoprene. It looks nice, feels good, and is easy to read. The ease and affordability of getting these printed was amazing. Getting them functional was incredibly easy.
The one I'm most excited about is using Ponoko to cut different materials. My initial tests with the “ultra suede” were really satisfying; the idea of using cloth, leather, or wood for electronic controls is rich for exploration. So much interaction with computers is mediated by flat, featureless plastic and glass, but the Morph opens up a whole new material landscape. Even for simple keystroke shortcut controllers, it’s nice to have a big soft button to zoom your drawing.
With some creative iteration and a bit of glue, you can make some really wonderful computer interfaces with the Morph. We hope to see more of your designs in the Sensel Forum.