
The Making of the Morph Case
[by Stephanie Lim]
Why did we make a case for the Sensel Morph?
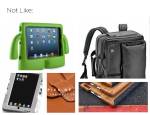
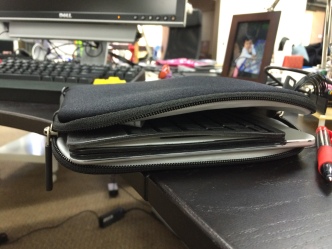
The Morph is about the size of an iPad and, by itself, works great with an iPad sleeve. However, the Morph product is not only the pressure sensitive input device, it is also the flexible overlays that come with it. When you try to slide flexible overlays into a soft sleeve, they often bunch up, fold, and bend which wears away at the lifespan and durability of the overlay. In addition, checking to see whether the overlays are laying flat and fixing bunching overlays is an extra thing to worry about when you use a normal iPad sleeve to carry the Morph.
One other important feature of the Morph is its mobility. This is an input device that can be used for productivity, for gaming, for music, for art and we want you to be able to bring that versatility wherever your heart finds inspiration. We designed the case to hold, allow easy access to, and protect the Morph and overlays as you travel across the world from adventure to adventure. Without it, the Morph become a leave-at-home device “because there are too many pieces to bring,” or a cool device that just gets shoved into a “ready to squash and scratch up” backpack.
In designing a new case for the Morph and overlays, we are intentionally adding protection, functionality, and mobility to the morph experience.
The Design Process
“Hey Ilya, can I bring my home sewing machine to work and set up a sewing station to prototype? I also have some felt that I can start playing around with.” That’s where the Sensel Morph Case started.
Finding Inspiration
At the beginning my mission was to familiarize myself with all the laptop cases, ipad cases, and electronic cases that were out in the market. What kind of material were they made out of? Why? What do the pockets look like? What are their functions? How are they sewed? I didn’t have much experience with sewing, bags, or materials coming into this project, so I personally went through a lot of trial and error.
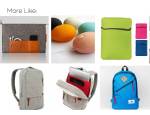
I made an inspiration board for myself that expressed a case that was simple, soft, clean, not too technical, not too high-end, and practical.
Defining the Goal (I like using “goal” rather than “problem”)
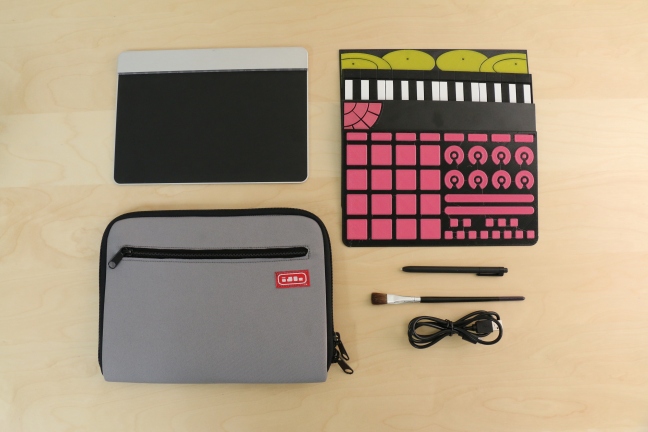
What should the Morph case hold?
1 – Morph
4-5 – overlays
1 – Stylus/pen
1 – MicroUSB cable
other accessories
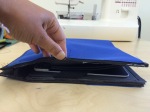
At the beginning, I spent some time observing how Ilya was using a normal iPad sleeve to transport the Morph and overlays. Here are some photos of the process:
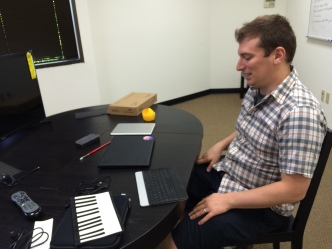
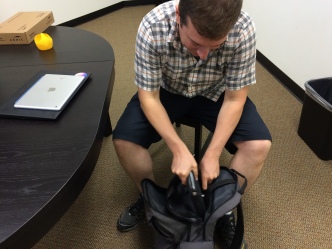
Observations:
- the sleeve does not fit everything
- Ilya has to constantly check to see if overlays are flat in the sleeve
- accessories are jammed in whatever space is left
- Ilya has to take out everything to take out one thing
Findings- We should design a case that:
- allows easy access and storage of the Morph (hard) and the overlays (floppy)
- accommodates Morph accessories from a microUSB to a pen or paintbrush.
- organizes and protects the Morph, overlays, and accessories for easy travel
Prototyping
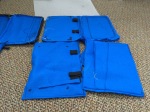
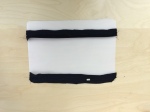
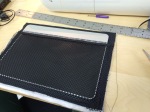
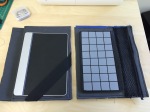
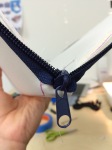
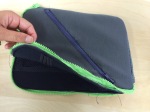
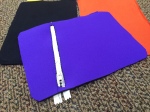
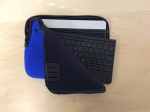
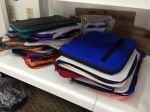
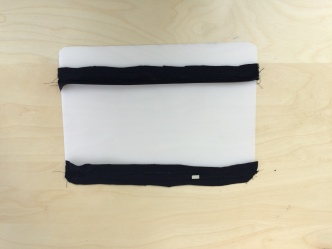
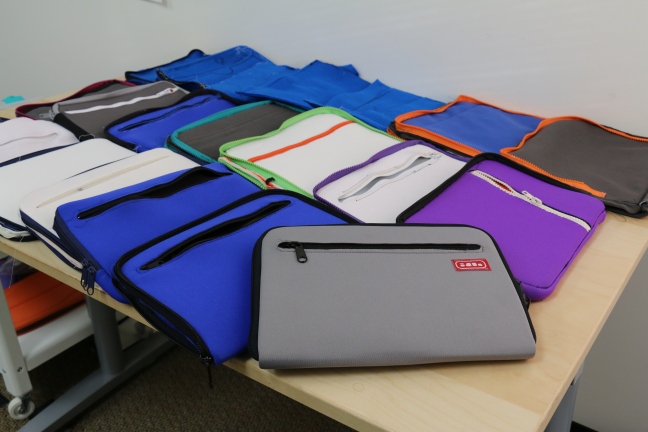
Since I’m not an expert in sewing or soft textiles, I spent a lot of time learning to sew, learning about materials that worked and didn’t work well, and learning how to sew a bag with zipper and pockets in general. I got most of my prototyping materials at a local store called Joanne’s and sourced other materials that I couldn’t find locally. Below you’ll find a series of pictures showing sketches, felt prototypes, random fabric prototypes, prototypes using magnets, prototypes in pieces, and much more.
Although many people are taught that the design process is very linear, my design process went back and forth between sketching, revisiting the problem, testing functionality, getting feedback on form, sewing a lot of potential cases. I constantly had to check in with my current design, challenge it and decide whether to push it to the next level or evaluate another option.


Since I had little experience with the soft good/apparel industry, we were lucky to hire Josh at Knack as a contract manufacturer to work with me to design our case. Josh has created a product line of his own and has a lot of manufacturing and sewing experience that has really been valuable for us. He also helped me plan and figure out what problems we needed to tackle and how we might be able to do that, which was important in pushing forward with the design process.
Simplifying
It’s not too hard to imagine all the cool features that you want in a product, but choosing the most essential ones and making a scalable product is a whole other design problem. I’ve done a lot of projects in school where I start from idea and bring it to a functional prototype. This is the first time that I’ve had to face problems such as simplifying my design to make it manufacturable and scalable. Luckily, we found Josh at Knack and hired him as a contract manufacturer to work with me in designing our case.
I could talk about all the little steps during our design process, but instead, I’ll share just a couple ideas and problems that we were grappling with during our prototyping process, and how we tackled each one:
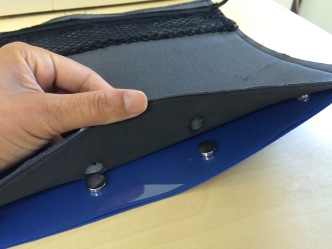
Magnets. At the beginning of prototyping, I was exploring using magnets in the case to hold the Morph and overlays in place in the case. I thought this fit with the “snap-on” overlays theme (the Morph and the Overlays have magnets embedded in them) and would reduce the number of straps and pockets. However, when thinking about the manufacturing process of embedding magnets in the case just for a 2000 unit case production, having that extra feature was not worth it. In addition, some users at meet-ups that tested our case did not notice the magnet feature or thought that strong magnets might demagnetize and damage their other electronic devices.
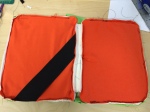
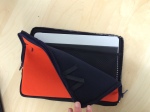
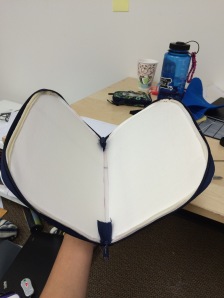
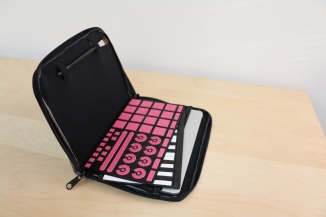
Basic Structure. Most of the early prototypes opened up all the way so that one side could hold the Morph and the other side could hold the overlays. Initially, we thought that it would be great if a user could open up the case, lay it flat on a table, and be able to see the Morph, overlays, and accessories in an organized way. A key insight that we heard again and again was that users would probably not open up the case all the way on a day to day use case. Some envisioned easy access and storage to the Morph, along with being able to store their unique accessories (pen, paintbrush, ipad) in the case also. This made me rethink our original idea and create a case with one main pocket (like a sleeve) and an internal pocket instead of a pocket on each face of the case that opened up. I’ll call this the “single corner” case. It created one large universal pocket with an internal separating pocket for the Morph that could easily hold the flexible overlays without the overlays bunching up.

One design criteria that we used to measure the usability of our case was being able to load and unload the case without a table. Think about the last time you used an iPad or computer sleeve. You probably held it open with one hand while on a hart flat surface, and used your other hand to slide your device in the case. We wanted this to be a practical case, so we wanted our design to be functional in an “extreme” situation. Loading the soft overlays were much more of a constraint than loading the Morph into the case.
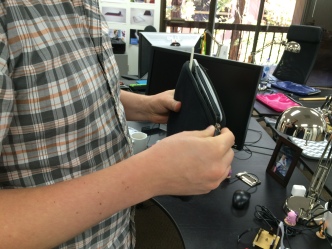
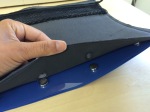
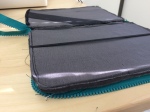
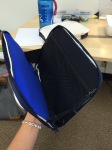
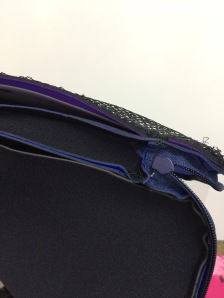
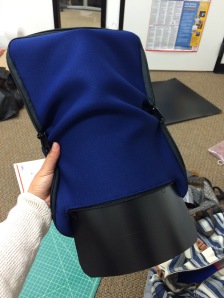
Some problems with the “single corner” case were having too many pieces to sew together, having multiple plastic inserts, and having an unclear way to hold and use the case. What we didn’t fully understand at this point was that the case “should be” a hard case (plastic insert). Why? It’s difficult to store flexible overlays in a soft case. After realizing this, we realized that a binder/book like structure would be much more appropriate for the Morph. In addition, the hard shell would allow a user to hold the case in one hand and load the Morph and overlays on-the-go.
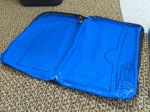
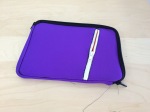
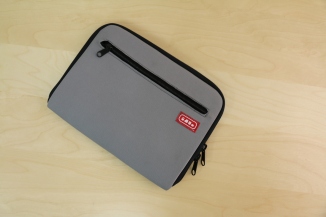
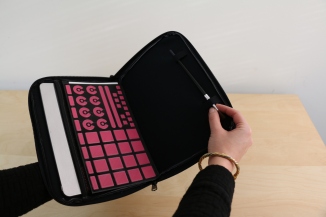
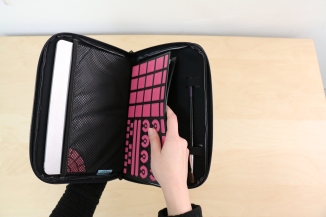
Here’s what the final prototype looks like (made in Oakland, CA).
What’s next?
With a couple more prototype iterations, we finally have a final prototype that we can send to China to get quotes. We will be comparing costs and trade-offs between manufacturing in the US and in China, and deciding which process will be best for our size of production!
